Cloudsmith + Bitbucket

At Cloudsmith, our mission is to make it as easy and straightforward as possible to get your packages into our system from where you can manage and distribute them to your heart's content.
To this end, we recently spent some time with Atlassian's Bitbucket team at AppWeek in Berlin to build a Bitbucket Pipe that makes it simple for Bitbucket users to easily turn their source code into distributable packages and deploy to Cloudsmith in just a few lines of YAML.
Put that in your pipe and ship it.
How it works
Pipes build on top of Bitbucket's excellent Pipelines functionality which allows users to automate their build and deploy processes, whatever form they may take.
Bitbucket Pipes are, at their simplest, the combination of a Docker container and some YAML-formatted configuration. Pipes are designed to remove what would otherwise be repeated or verbose configuration from a user's pipeline. Pipes can be shared across repositories or organisations and make many common tasks almost trivial.
Using Pipelines
The Cloudsmith pipe is included in Bitbucket's collection of officially maintained pipes and is available by default for any user that wishes to include it in their pipeline.
To use the pipe you'll first need an application or library that can be packaged into one of the formats that Cloudsmith support. You can see examples of Python and Javascript libraries in Cloudsmith's Bitbucket account.
For the purposes of this example we'll assume you're using the Python example from the link above.
First, ensure that you can package your code using a Bitbucket pipeline by editing bitbucket-pipelines.yml in your repository. You can do so either via Bitbucket's web UI or using your normal editor and Git workflow.
For the example library, a basic pipeline that builds a package when a new tag is created looks like so:
image:
  name: atlassian/default-image:2

build: &build
  step:
    name: Build Python Package
    image: python:3.7
    script:
    - python setup.py sdist
    artifacts:
    - dist/**

pipelines:
  tags:
    release-*:
    - <<: *build
This pipeline will build a new package each time you push an appropriate tag you your Bitbucket repository. The built package is then discarded as we have not yet added further instructions to tell Bitbucket what to do with it.
Configuring the Pipe
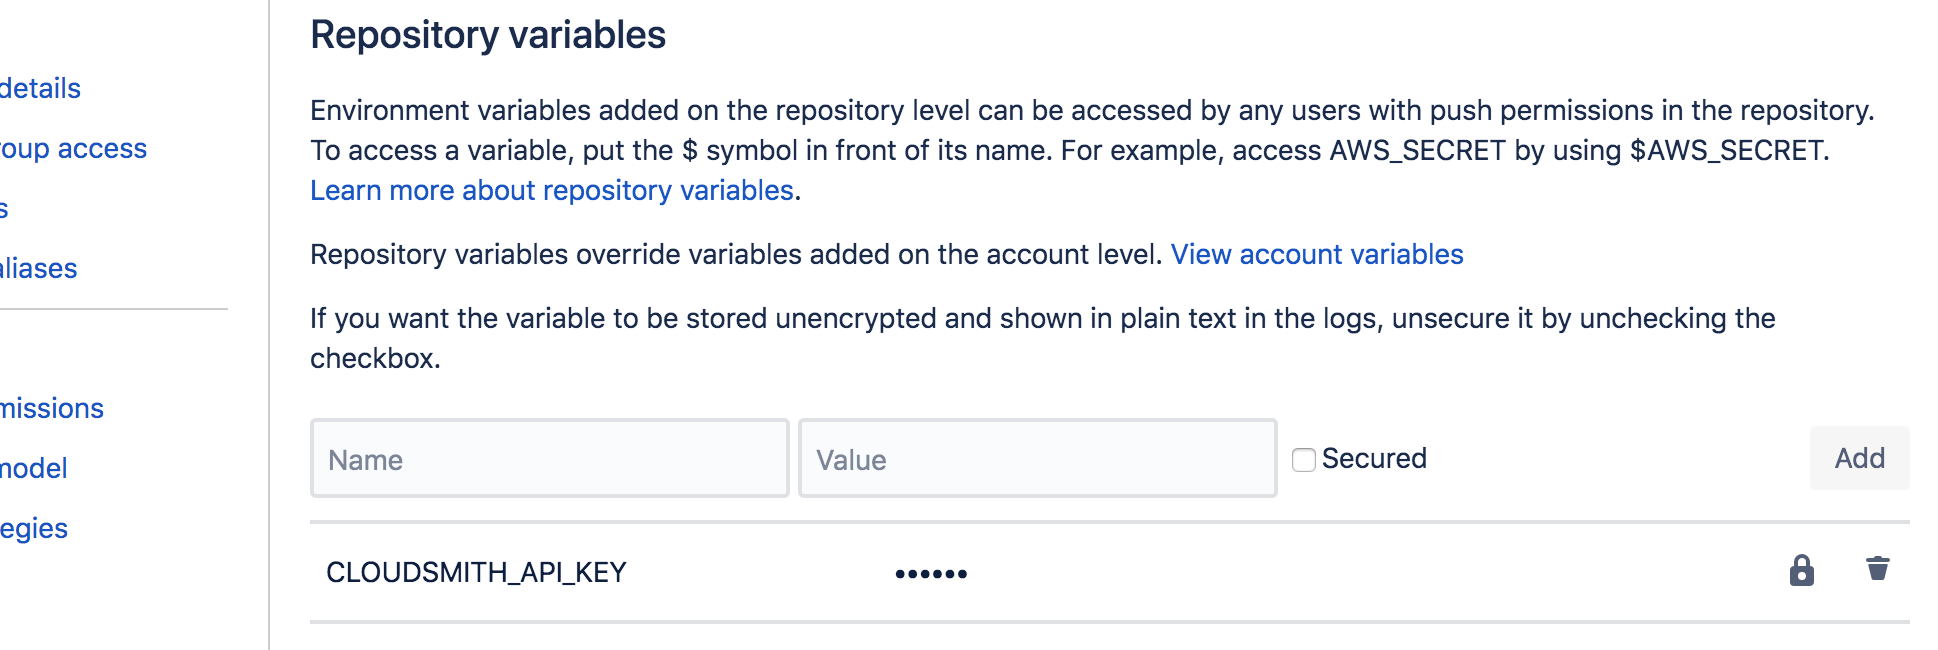
Next we'll add publish the package to Cloudsmith using our official pipe. We'll need to provide an API Key that the pipe can use to authenticate with Cloudsmith. You can find the official documentation for pipeline variables in the Bitbucket documentation.
The API Key should be added as a "secure" variable (so it doesn't leak into logs) with the name CLOUDSMITH_API_KEY.

Once authentication is configured, you can add the pipe configuration to your pipeline.
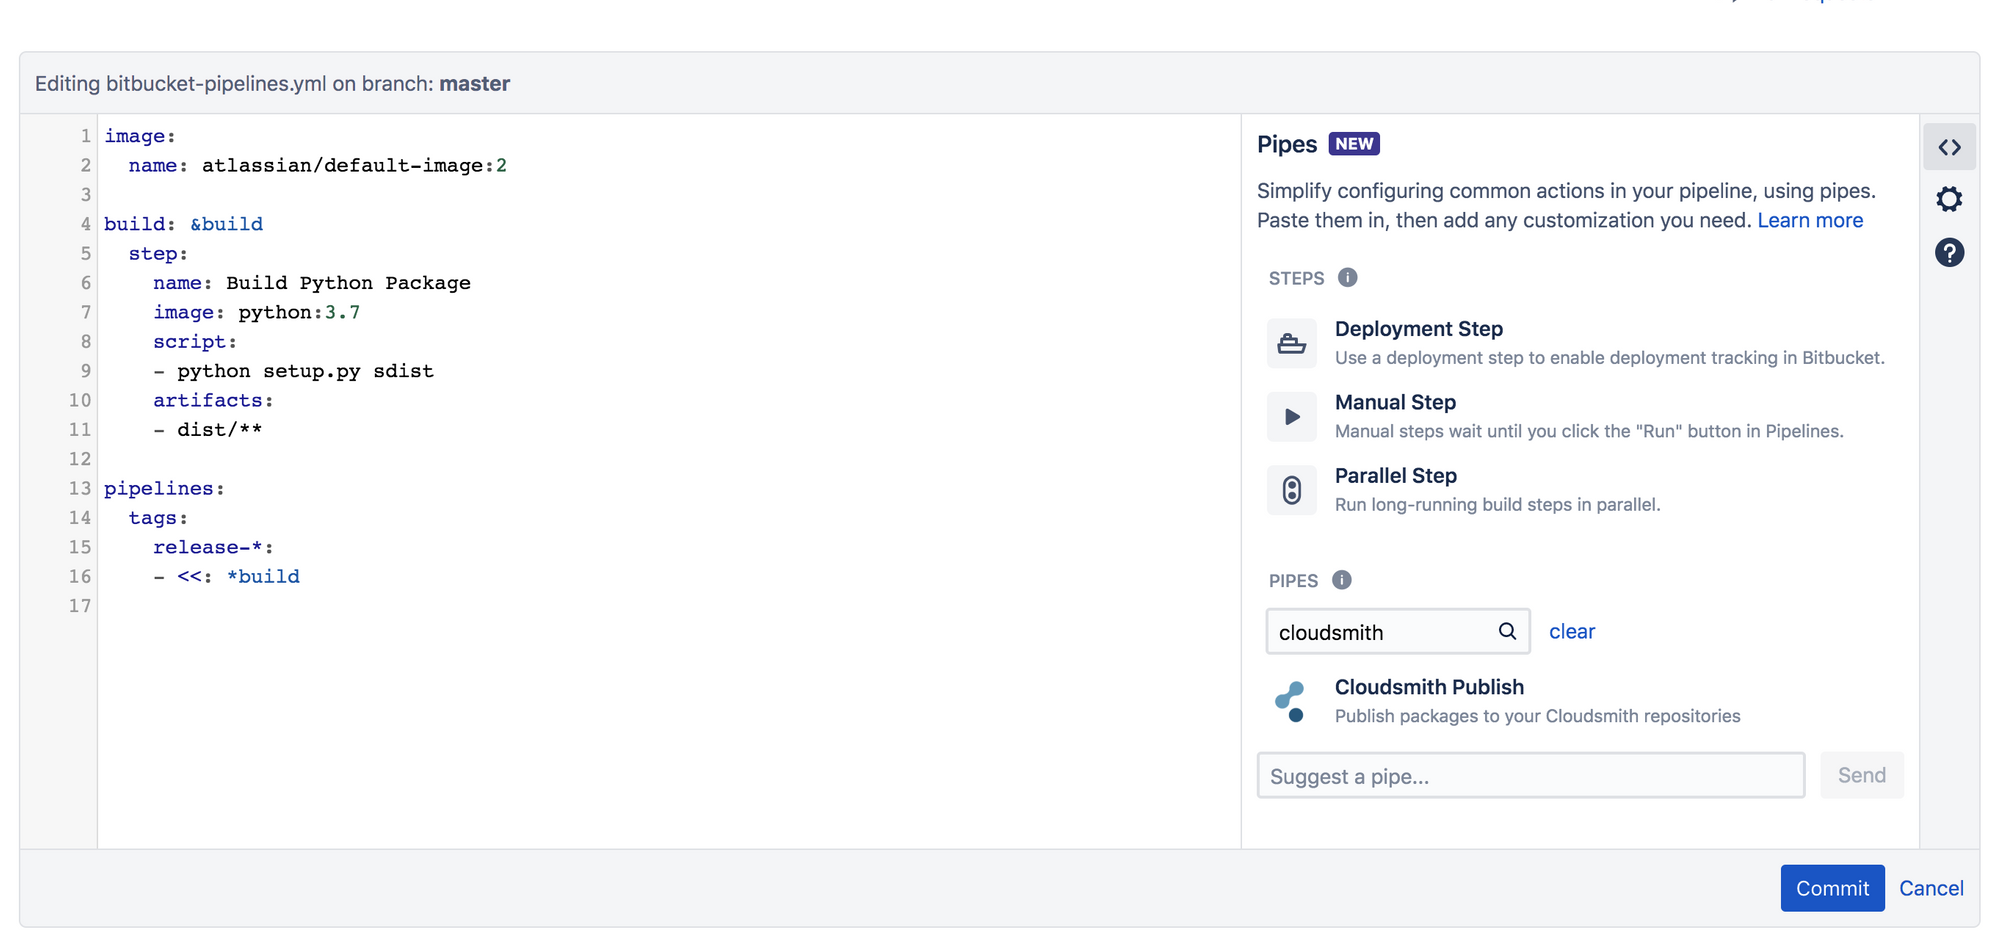
If using the web UI to configure your pipeline, you can select the Cloudsmith pipe right from your browser, from within the list of supported pipes as in the image below:

If using your local editor, you can follow the instructions in the official README on Bitbucket.
Once added, your pipeline YAML should look something like so:
image:
  name: atlassian/default-image:2

build: &build
  step:
    name: Build Python Package
    image: python:3.7
    script:
    - python setup.py sdist
    artifacts:
    - dist/**

publish: &publish
  step:
    name: Publish Python Package
    script:
    - pipe: cloudsmith-io/publish:0.1.1
      variables:
        CLOUDSMITH_REPOSITORY: 'cloudsmith/examples'
        CLOUDSMITH_API_KEY: $CLOUDSMITH_API_KEY
        PACKAGE_FORMAT: 'python'
        PACKAGE_PATH: 'dist/*.tar.gz'

pipelines:
  tags:
    release-*:
    - <<: *build
    - <<: *publish
This configuration instructs the pipe to push artifacts to the cloudsmith/examples repository, with the API key we stored earlier. We're uploading a python package which is located at dist/*.tar.gz.
Using the Pipe
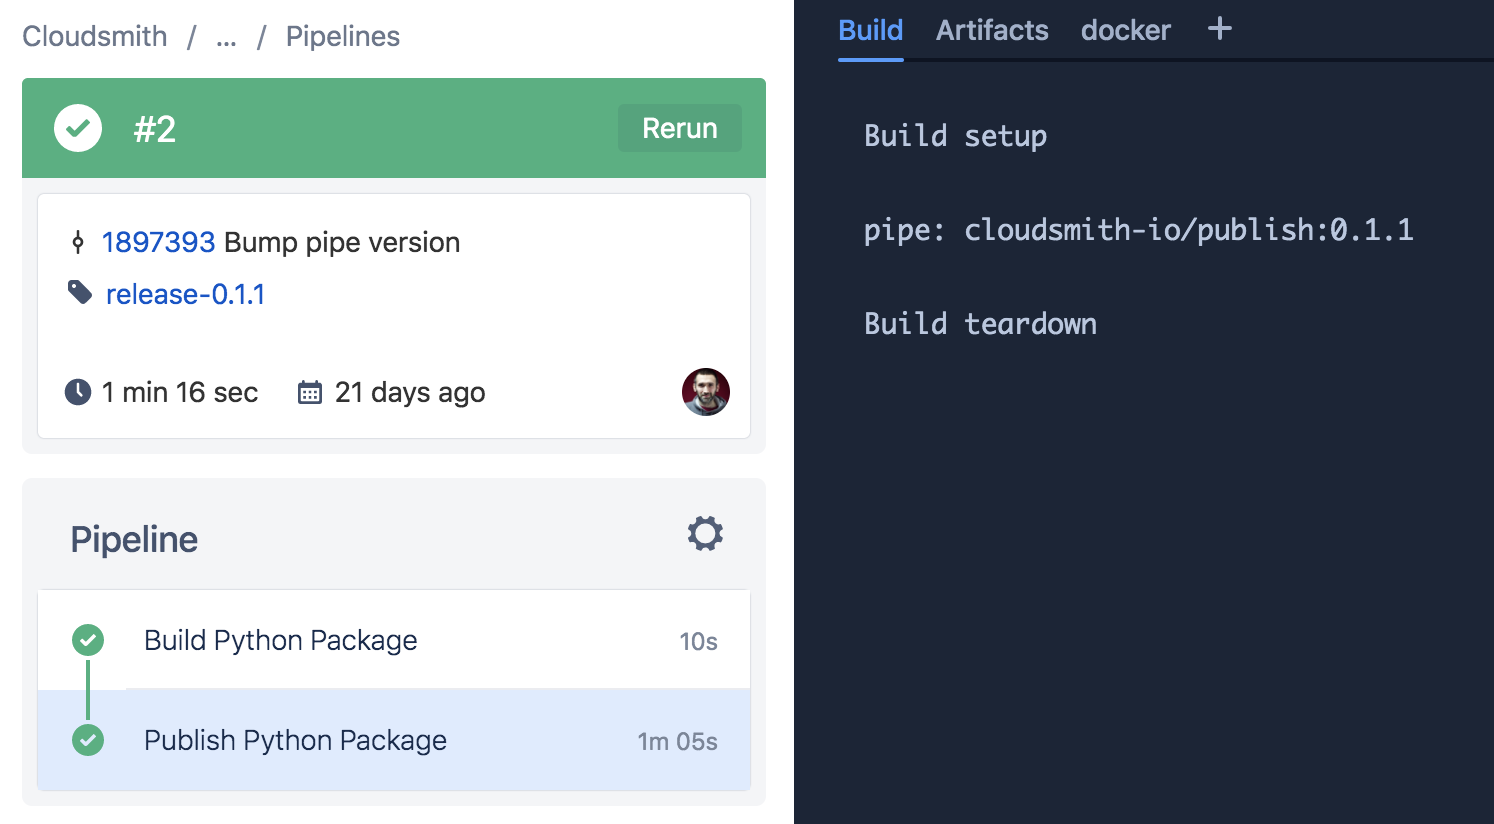
And that's it! Your pipe is now configured and ready to run. You should be able to push a new tag to Bitbucket and see your pipe run.
Bitbucket's pipeline UI provides a great overview of the status of your jobs:

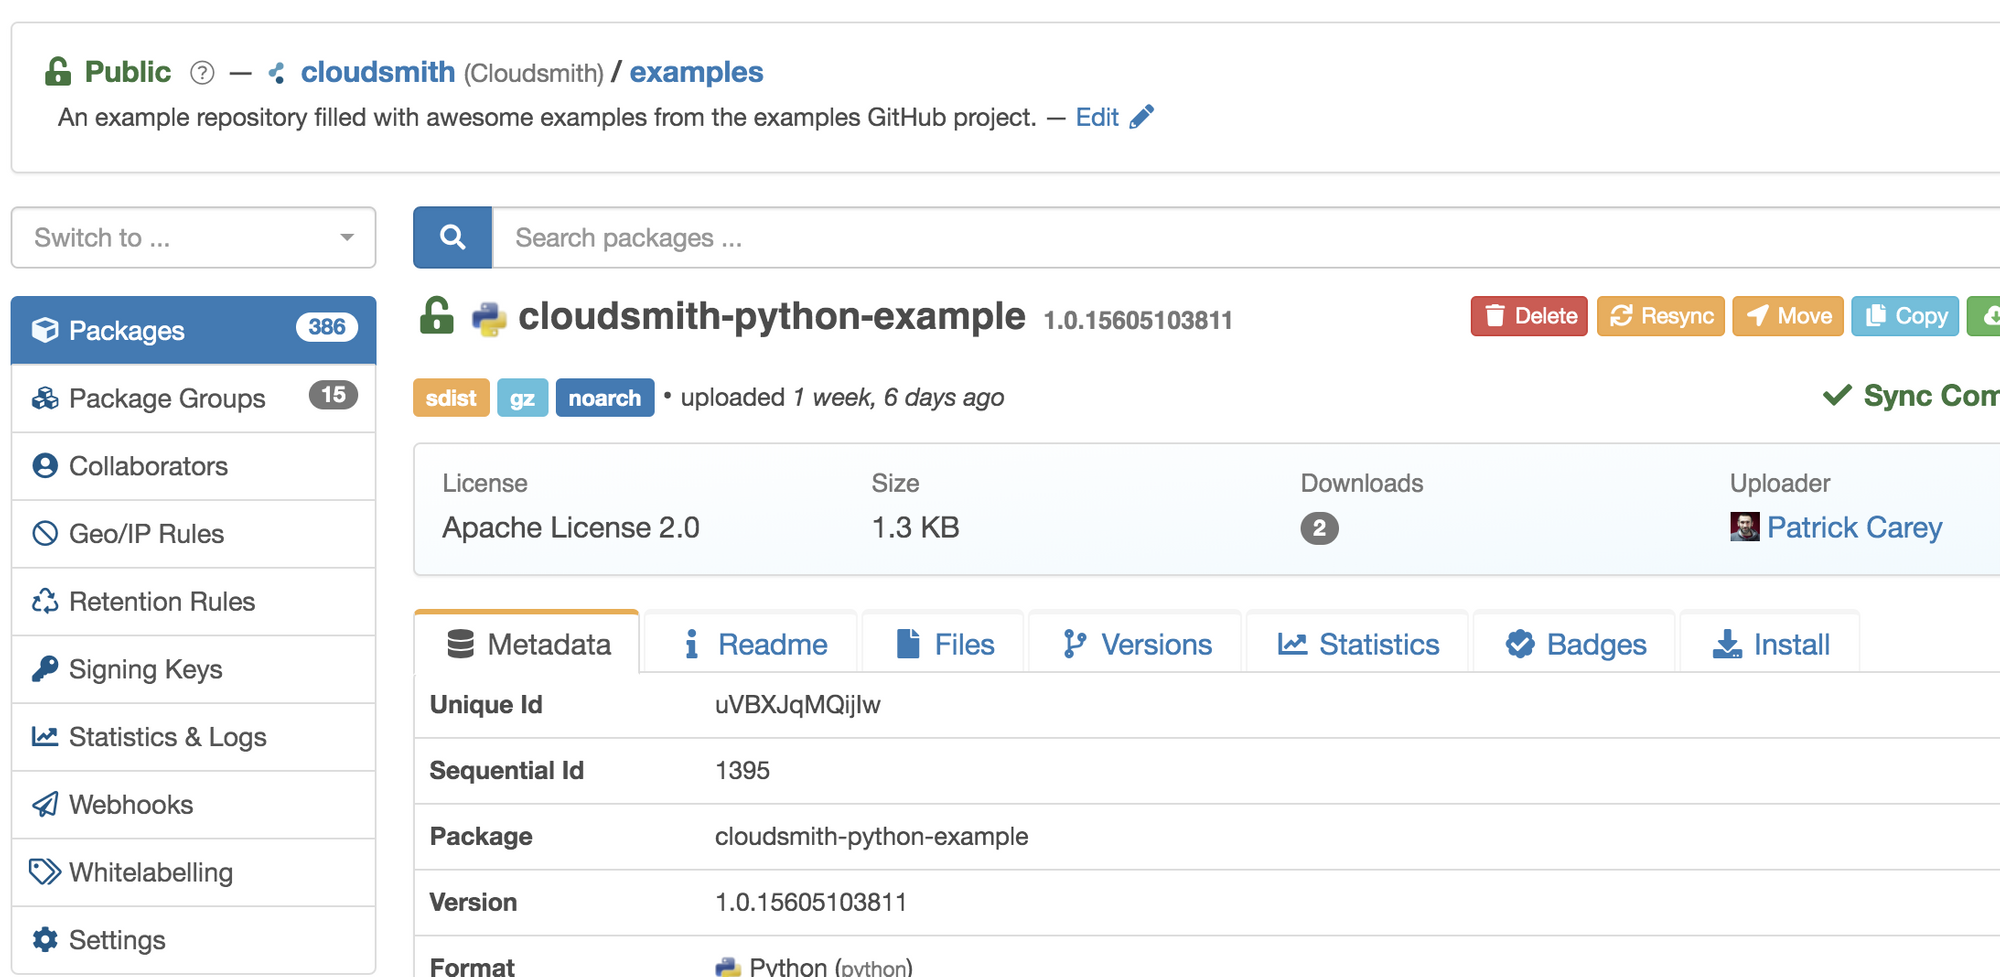
Once pushed, you should see your shiny new package in the Cloudsmith UI, ready for download and install using your preferred tools:

Conclusion
Cloudsmith's Bitbucket pipe provides the easiest and simplest way for Bitbucket users to push their assets to Cloudsmith. Our official pipe is maintained by the Cloudsmith team and you can be sure it'll be kept up to date with all changes and features as we release them.
As always, if you have any questions about the pipe (or anything else), we're available at support@cloudsmith.io.
More articles


Integrating a Cloudsmith repository with a Harness CD pipeline

Collision 2021 - Securing Software Pipelines with Continuous Packaging

Using Harness to deploy packages from Cloudsmith

Thoughts On the Codecov Breach
